Homemade Chocolate Marshmallows
 Andrea Potischman | Feb 16, 2024
Who does not love marshmallows? My kids are huge fans for sure. Homemade artisanal marshmallows are now seen in gourmet stores everywhere, and they can often be rather pricy. Classic flavors like chocolate, vanilla, and strawberry are often available, but more adventurous ones like malted milk, caramel, toasted coconut, lavender, Kahlua, Irish Cream, and Espresso are popping up as well. The options are truly endless.
A basic marshmallow recipe can be easily adapted to create almost any flavor your heart desires. When homemade, there are numerous options for size and shape which makes this a fun and easy cooking project with kids. My eleven-year-old helped me with these recently. His love of sugar is so strong, that it’s rather remarkable he was able to patiently wait the full 8-hour setting time before enjoying them.
Considered a “sugary confection” marshmallows first appeared in the United States around the early 1900’s. But why such a silly-sounding name? The word “mallow” originated from the mallow plant, and “march” from the marchy/damp areas the plant typically grows in, thus the name “marshmallow“. Originally made from the root of a plant, the modern version we all know and love consists of corn syrup, sugar, and gelatin, whipped together into a spongy consistency. Marshmallows are not health food, sadly there are no hidden health benefits to share, they are simply, a fun delicious treat for all ages.
The recipe below is adapted from Ina Garten. It is a classic, easy-to-follow recipe that is almost foolproof. Ina’s original recipe is for vanilla marshmallows, but I have adapted it by adding cocoa powder at my son’s request. Try these delicious chocolate marshmallows for s’more making, add to kid-friendly or adult-only hot chocolate, or get creative, by dipping them in melted chocolate and sprinkle them with pistachio nuts. Whatever you decide, I think you (and your kids) will enjoy.
Homemade Chocolate Marshmallows

Ingredients:
- 1 1/2 cups granulated sugar
- 1 cup light corn syrup
- 1/4 teaspoon salt
- 1/2 cup water
- 3 envelopes unflavored gelatin
- 2 teaspoons pure vanilla extract
- 2 tablespoons cocoa powder
- Confectioners' sugar, as needed for dusting
Directions:
- Lightly oil a 9 x 9 square nonmetal baking dish. With a sieve, generously dust the dish with confectioners' sugar and set aside.
- Combine the sugar, corn syrup, salt, and 1/2 cup water in a small saucepan and heat over medium heat until the sugar dissolves. Raise the heat to high and cook until the sugar syrup reaches 240 degrees on a candy thermometer. Note, be sure to handle the syrup carefully, as sugar burns are very painful. Remove from the heat.
- Working quickly, so your syrup does not cool and harden, combine the gelatin and 1/2 cup cold water in the bowl of an electric mixer, such as a KitchenAid, fitted with a whisk attachment. With the mixer on low speed, slowly pour the sugar syrup into the dissolved gelatin. Add the cocoa powder.
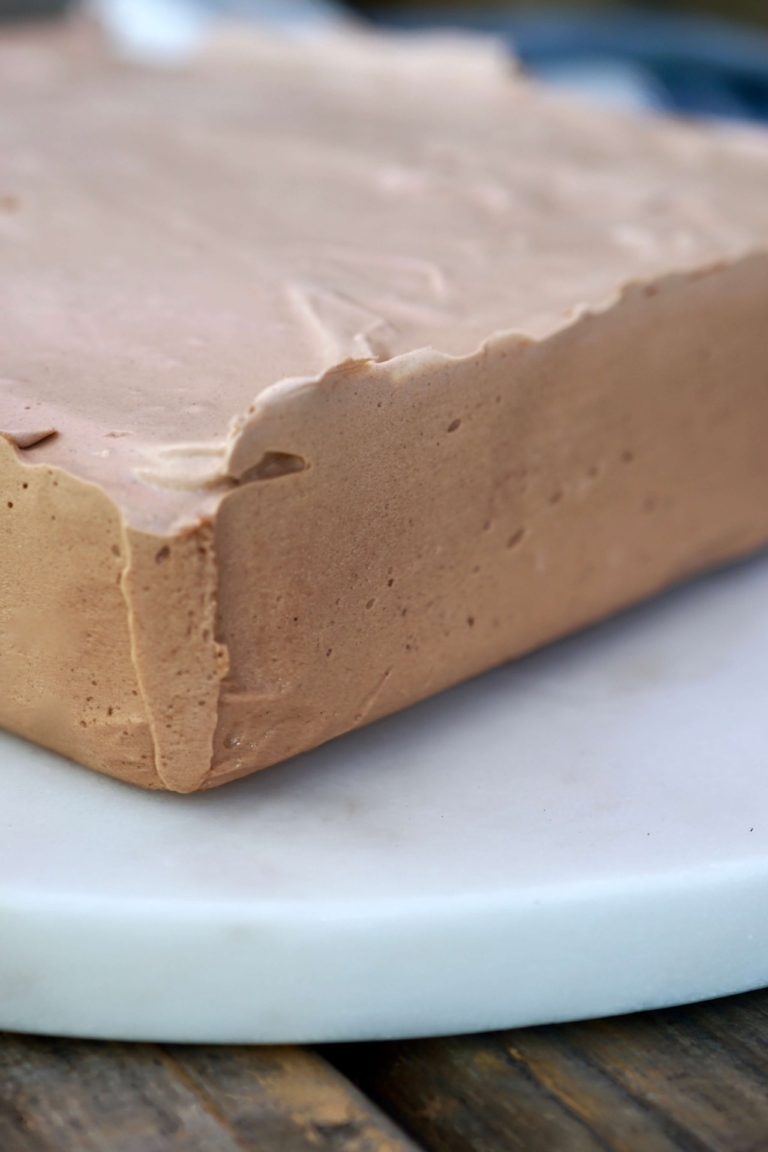
- Put the mixer on high and whip until the mixture is very thick and fluffy, about 15 minutes. Add the vanilla and mix thoroughly to incorporate. Pour the marshmallow mixture into the prepared pan. The mixture will be sticky and elastic and somewhat tricky to smooth out. I suggest wetting your fingertips with water and gently pressing the mixture evenly into the pan Dust the top with more confectioners' sugar and allow it to stand uncovered for 8 hours or overnight, until it dries out.
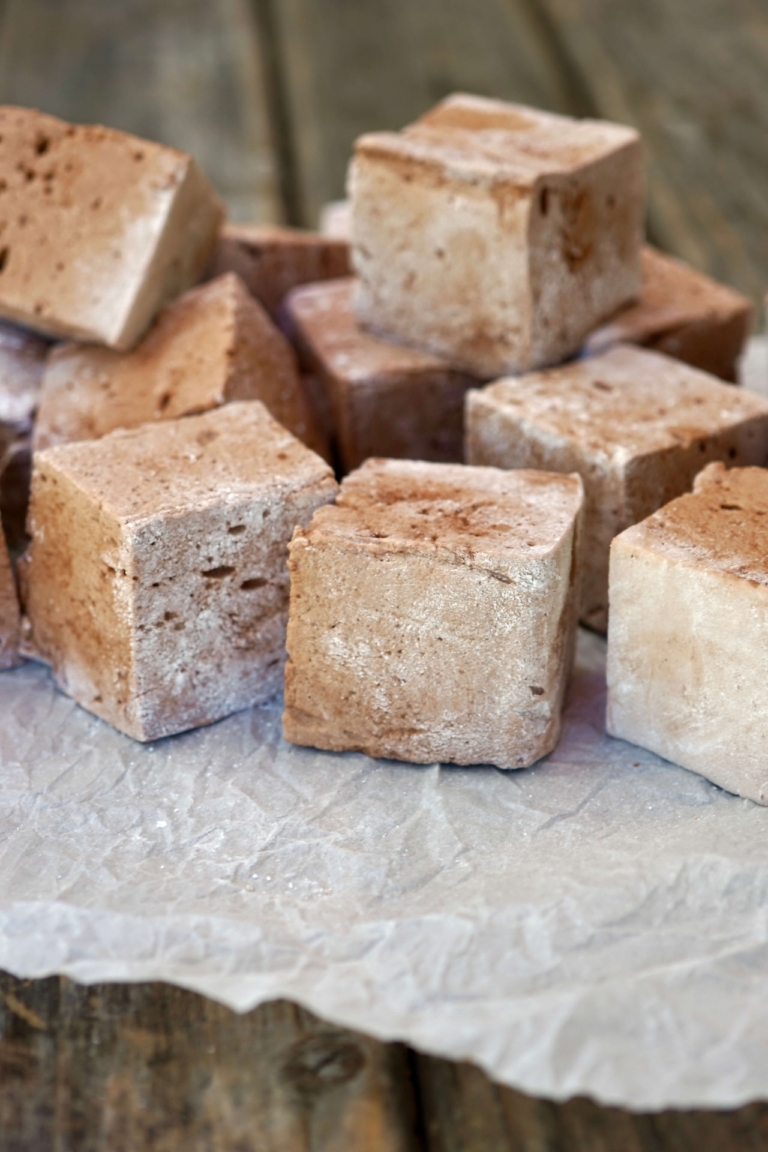
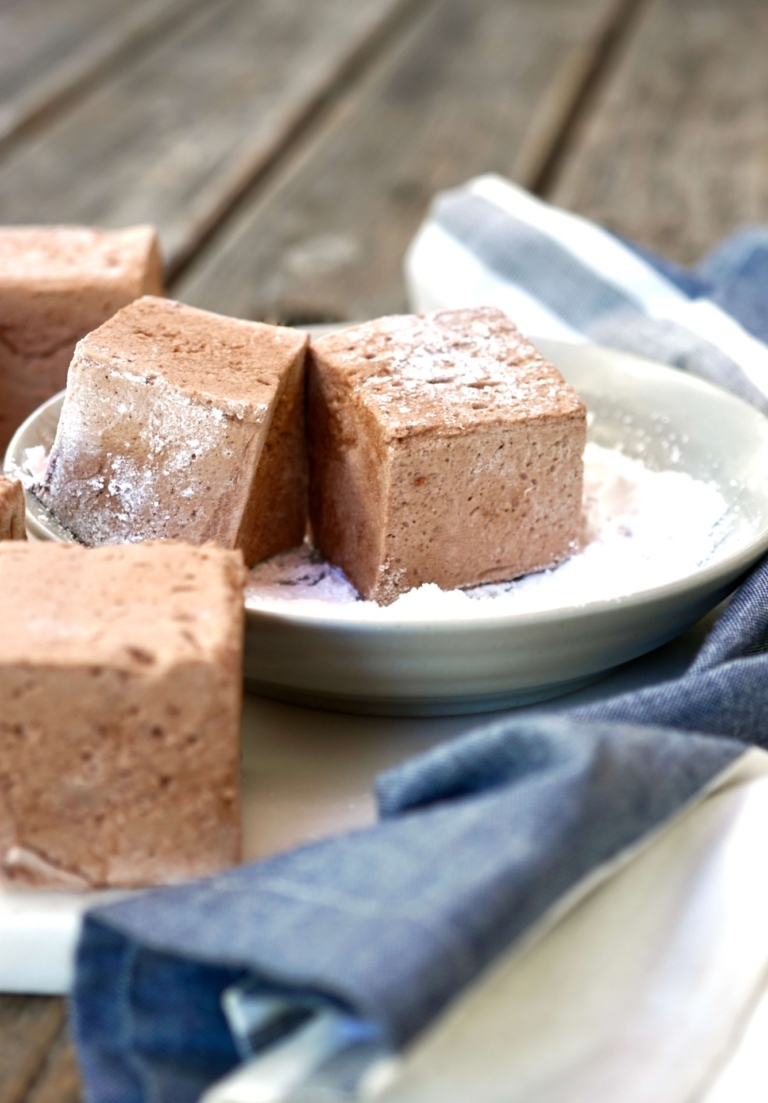
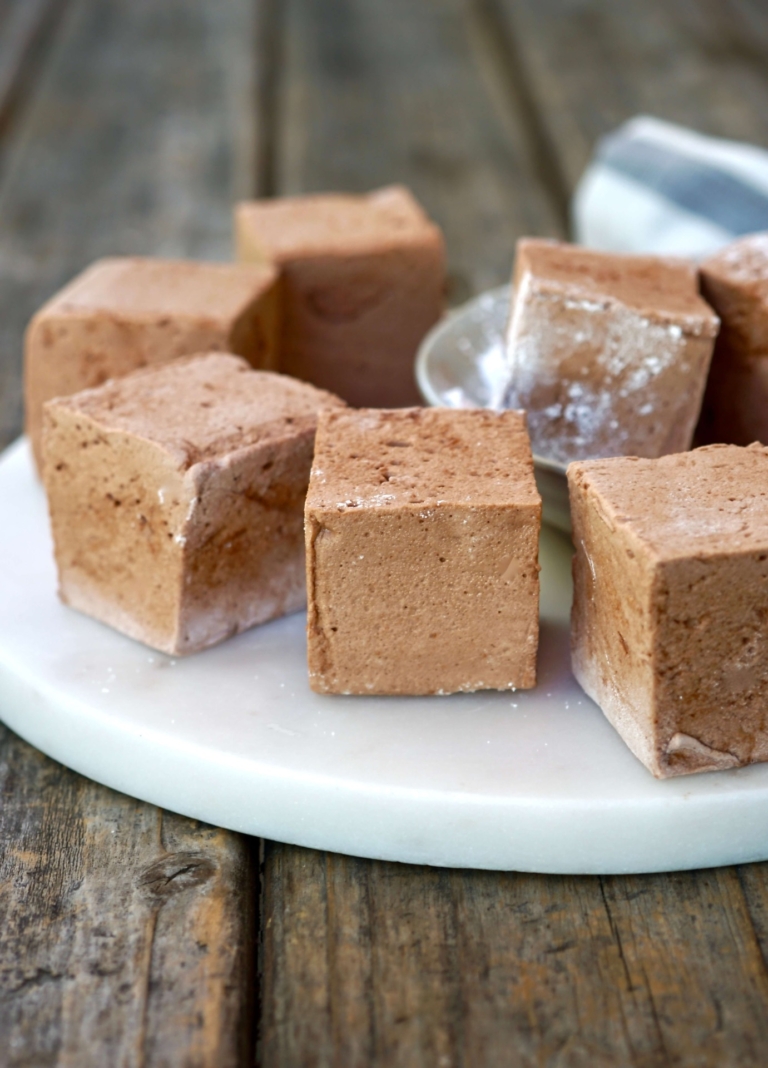
- Turn the marshmallow onto a cutting board. Using a long knife, cut into squares or other desired shapes. Sprinkle your knife with confectioners' sugar in between cuts to prevent the marshmallows from sticking.
- When done cutting, dust all the pieces with confectioners' sugar to prevent them from sticking together. Store between parchment paper, in an airtight container, in a dry cool place, the marshmallows should keep for about one week.
