
Icebox cakes have long been the unsung heroes of warm-weather entertainment. Originating in the U.S. during the 1920s and 30s—when the “icebox” was the modern marvel of kitchen appliances—these no-bake desserts became popular for their simplicity and practicality. Built on layers of cookies or cake, cream, and flavorings, icebox cakes are chilled to perfection, allowing time to meld the layers into one luscious bite.
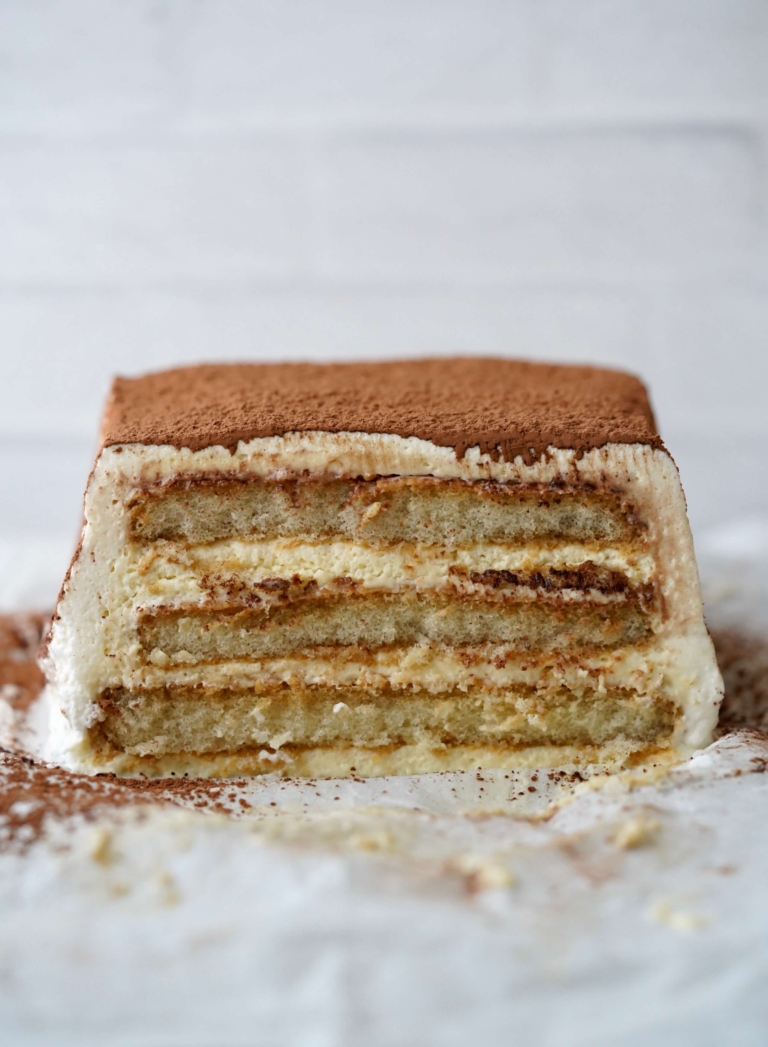
Enter the tiramisu icebox cake—a mashup of Italian elegance and American ingenuity. It borrows everything we love from a classic tiramisu: soft, espresso-soaked ladyfingers, rich mascarpone cream, a generous splash of Kahlua, and a dusting of cocoa powder. But instead of meticulously assembling a traditional cake, this version layers easily into a dish, no baking (or fuss) required.
The flavor is unmistakably tiramisu—bold yet balanced. The coffee and Kahlua bring depth, while the mascarpone and whipped cream lighten things up. For those who are caffeine-sensitive, especially in the evening, decaf espresso or coffee delivers all the flavor without compromising sleep. It’s a small tweak that keeps this dessert crowd-friendly.
Cool + Classic
What makes the tiramisu icebox cake such a summer gem is its paradoxical nature: it’s decadent, yes, but never heavy. It’s chilled, creamy, and just structured enough to feel like a proper cake, without needing an oven or a pastry degree to pull off. Best of all, it’s a prep-ahead dream—layer it up, pop it in the fridge, and let time do the rest. Whether you’re planning a casual back-to-school dinner party or need a cool, comforting treat at the end of a long day, this icebox cake brings all the café-culture flair with none of the sweat.
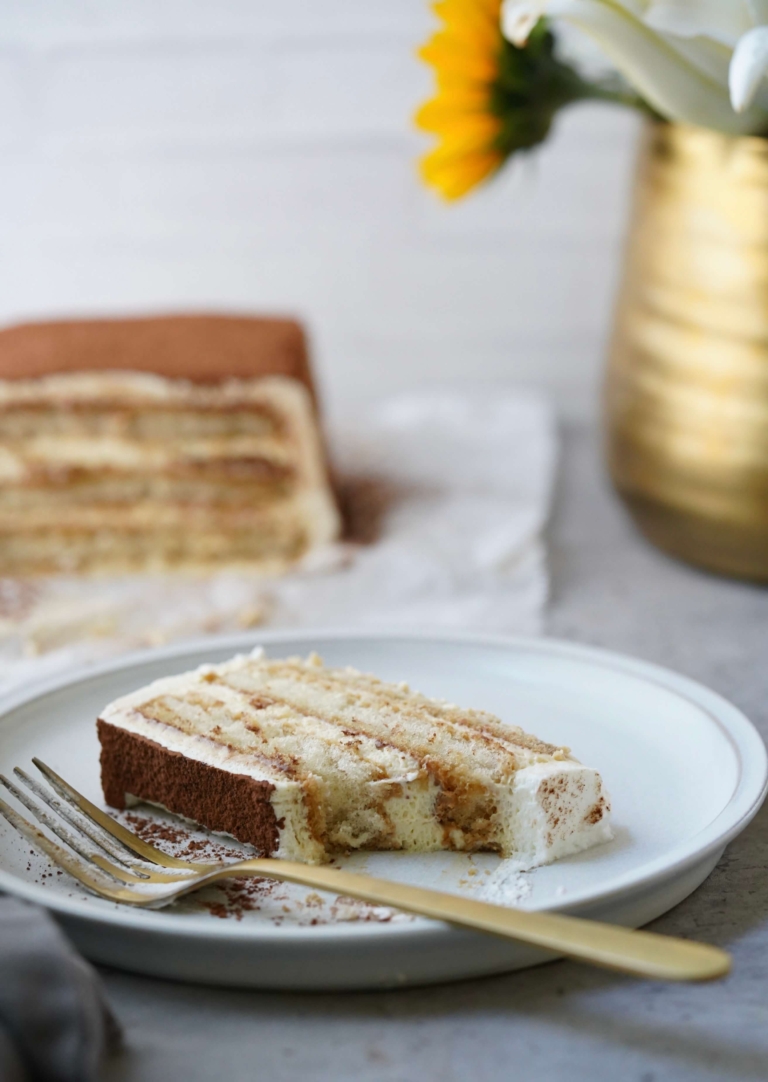
Tiramisu Icebox Cake

Ingredients:
- 3/4 cup strong brewed coffee (regular or decaf)
- 1/4 cup Kahlúa
- 3 egg yolks
- 1/4 cup sugar
- 1 1/2 teaspoons vanilla extract
- 1/4 teaspoon Kosher salt
- 1/4 cup water
- 1 cup mascarpone cheese
- 1 1/2 cups cold heavy cream, divided
- 4 tablespoons Confectioners' sugar, divided
- One (7-ounce) package crispy ladyfingers
- Unsweetened cocoa powder, for serving
Directions:
- Line a standard 8 1/2 x 12" loaf pan with two crisscrossed pieces of plastic wrap, pressing into corners and leaving overhang on all sides.
- In a small bowl, mix the brewed coffee with the Kahlúa and set aside. Next, prep the mixer. Place the egg yolks in the bowl of a kitchen mixer, such as a KitchenAid, fitted with a whisk attachment.
- In a small saucepan, add the sugar, vanilla extract, salt, and water, place over medium heat, and bring to a boil while stirring until the sugar is dissolved. Remove the syrup from the heat and cool slightly.
- Once the syrup has cooled, turn the mixer on low and, in a slow, steady stream, gradually add the syrup to the egg yolks. (Note: this is the delicate process that allows the warm liquid to "cook" the egg yolks.) Increase speed to medium-high and beat until the mixture is very light and mousse-like and has cooled to room temperature, about 3 minutes. Pour the egg yolk mixture into a mixing bowl and set it near your workstation.
- Wipe out the electric mixer bowl and add the mascarpone, 1/2 cup heavy cream, and two tablespoons Confectioners' sugar and mix on low, gradually increasing the speed to medium-high as it thickens. Continue to beat until stiff peaks form, about 1 minute. Stop the mixer and add the reserved egg yolk mixture. Beat the mixture on low to combine and then increase the speed to medium-high and beat until stiff peaks form once again, about 1 minute. Place the mixture near your work station and prep the ladyfingers.
- Trim the ends off 7 ladyfingers so they will fit snugly into the bottom of the loaf pan. Spoon and level 1/2 cup mascarpone mixture into the prepared pan and spread evenly across the bottom with a spoon. Working one at a time, quickly dip the trimmed ladyfingers into the reserved coffee mixture, then arrange crosswise in a tight-fitting row on top of the mascarpone mixture. Spoon and level 1 cup of the mascarpone mixture over the ladyfingers; use a rubber tip spatula to spread into an even layer.
- Repeat the trimming, dipping, and arranging process to make a second layer of ladyfingers and top with another 1 cup of mascarpone mixture. Add a third layer of ladyfingers (note: you do not need to trim these as they will fit the pan perfectly now, as the pan is wider near the top), and spoon the remaining mascarpone mixture on top. Flatten the top surface as best as possible.
- Bring the plastic overhang up and over the pan; press gently onto the surface to wrap the icebox cake well. Wrap in an additional layer to fully secure the cake while it rests. Place the icebox cake in the refrigerator and chill until the mascarpone mixture is set and the ladyfingers are softened, at least 8 hours or ideally overnight.
- Just before serving, in the bowl of a kitchen mixer fitted with a whisk attachment, add the remaining 1 cup of heavy cream and beat on medium-high until medium peaks form. Reduce the speed and mix in the remaining two tablespoons of Confectioners' sugar.
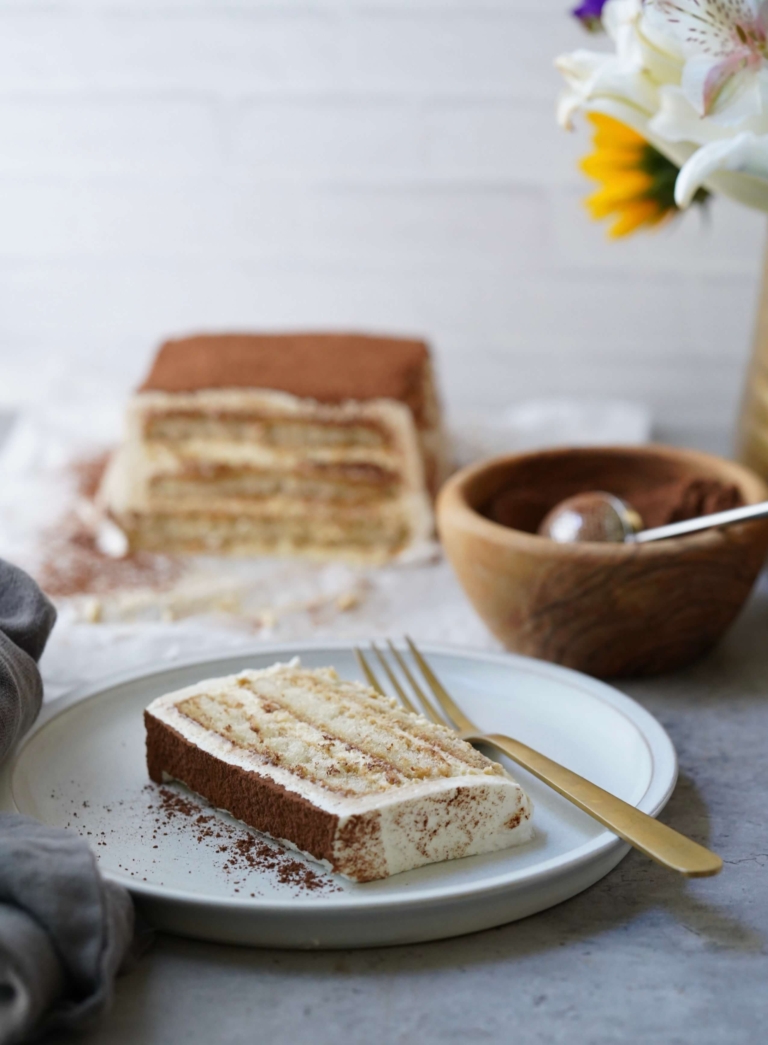
- To Serve: Remove the icebox cake from the refrigerator and peel back the plastic from the surface. Gently tug on the plastic to help loosen the cake from the pan. Place a plate or platter upside down over the pan, making sure the ends of the plastic are out of the way, and invert. Remove pan, pulling downward on plastic to help release cake if needed; carefully peel away plastic.
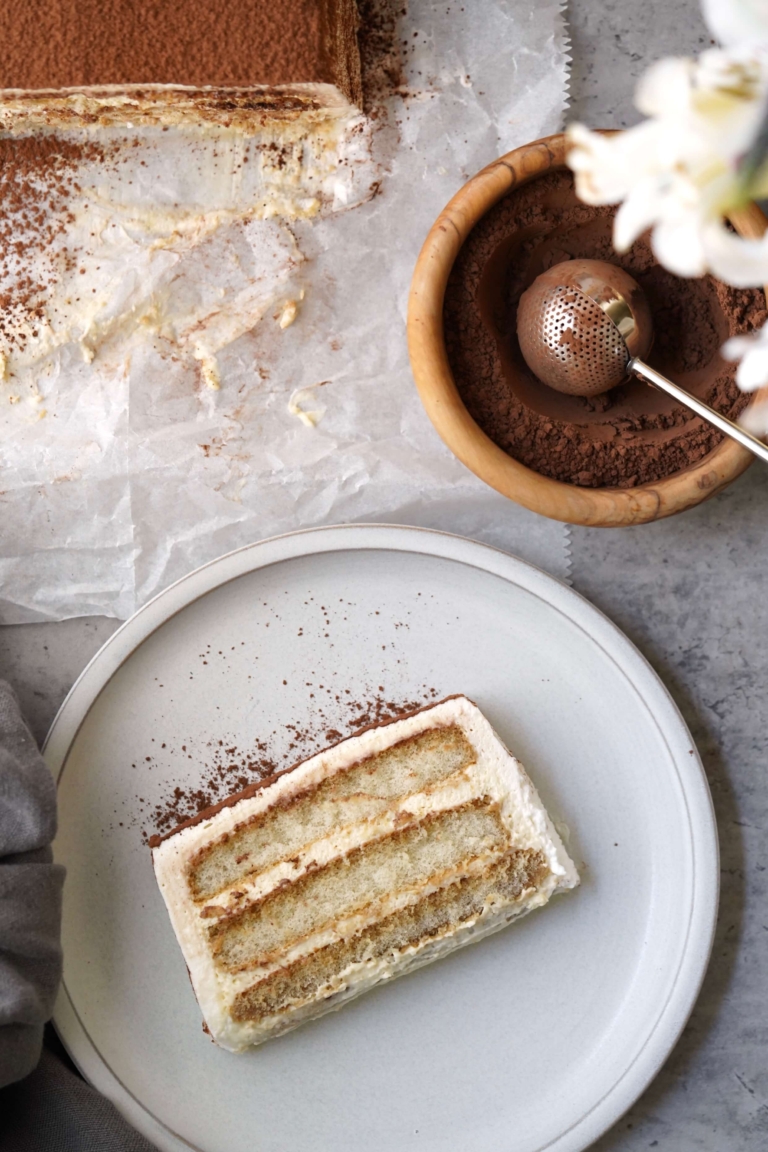
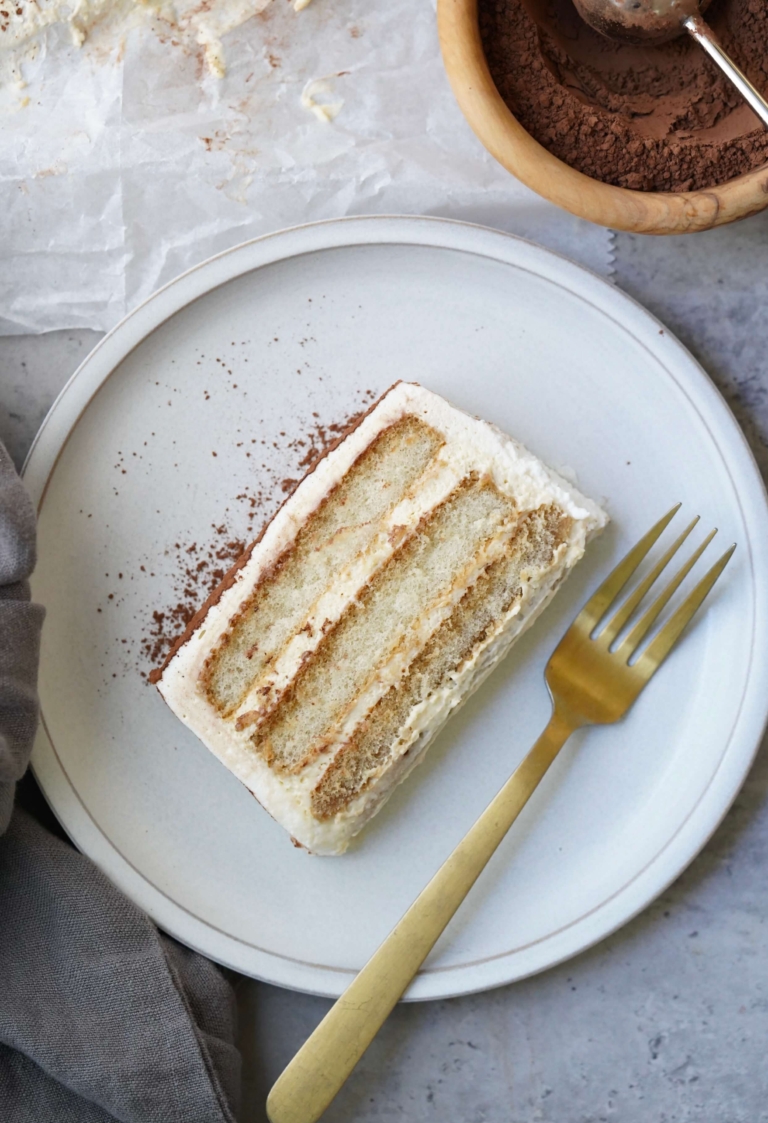
- Using an offset spatula, evenly spread the icebox cake (top, sides, and ends) with the sweetened whipped cream. Lightly dust the top of the cake with unsweetened cocoa powder, slice and serve.
