
If you’ve ever stood in a New York bakery staring at a black and white cookie, you already know: this is not just a cookie, it’s a philosophy. The black and white cookie traces its roots to the early 1900s, most commonly credited to Glaser’s Bake Shop on the Upper East Side of Manhattan. At the time, it was less about symbolism and more about practicality—a soft, cake-like vanilla cookie topped with fondant icing, half chocolate, half vanilla: no frills, no sprinkles, no gimmicks, just balance. Over time, this humble bakery staple became inseparable from New York City itself, showing up in delis, corner bakeries, and coffee carts like a sugary constant in a city that never stops changing.
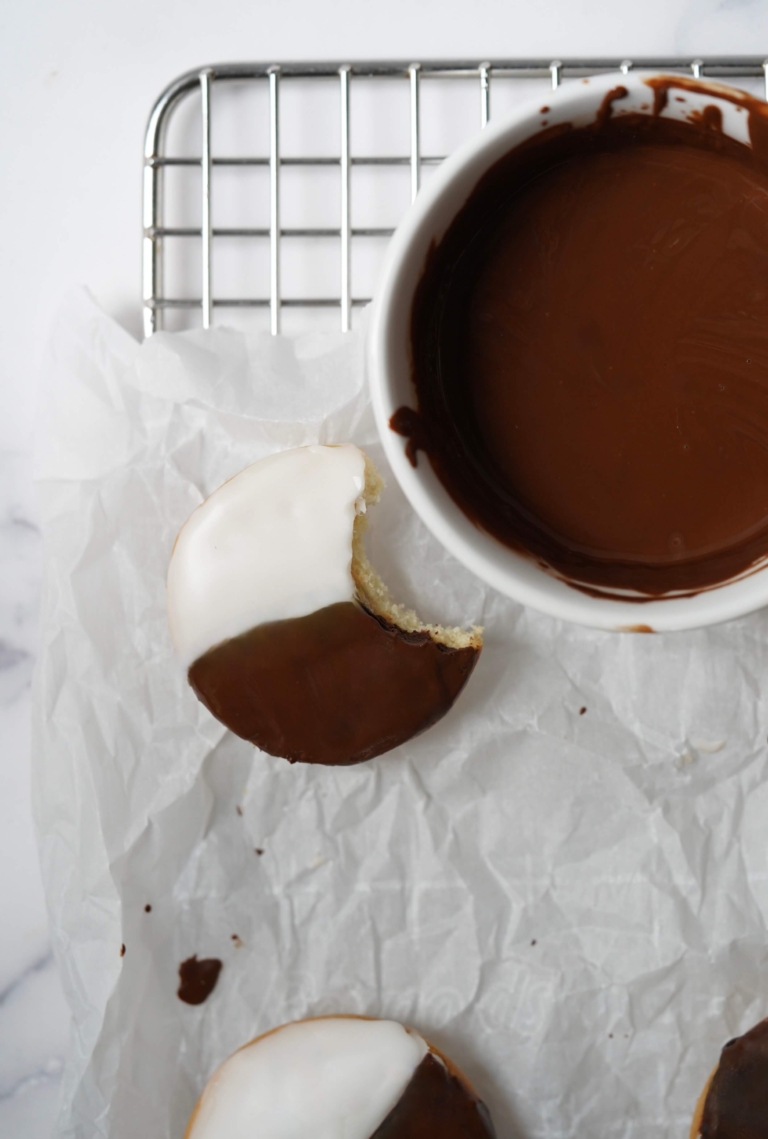
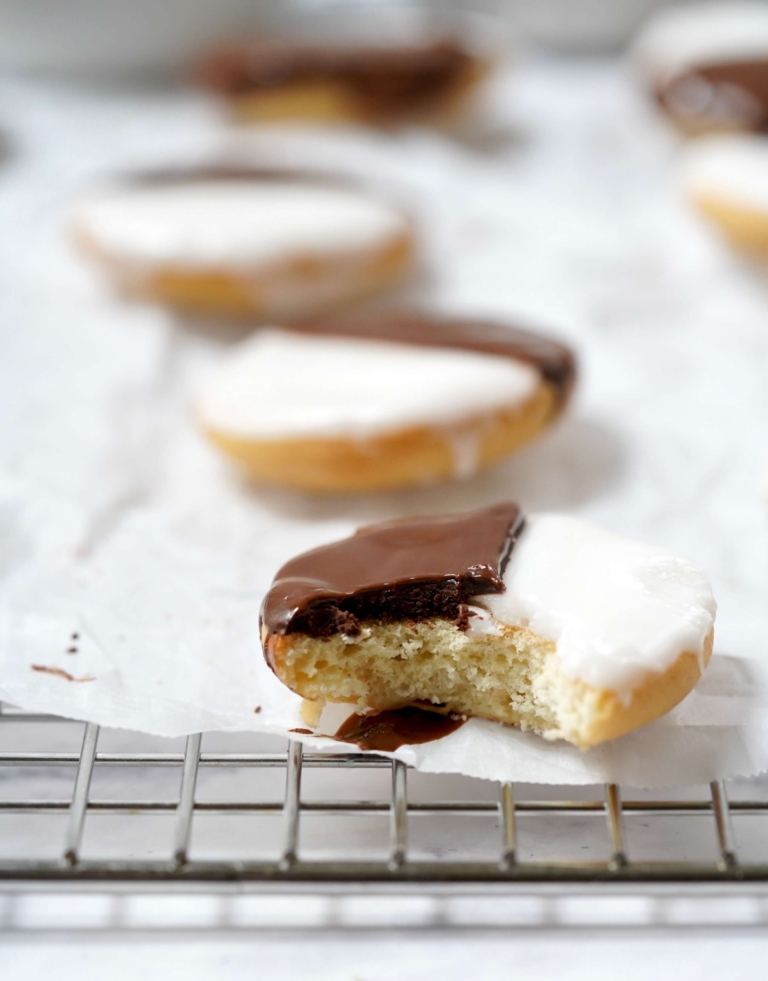
What makes a black and white cookie iconic isn’t just its look—it’s the ritual. You don’t eat it mindlessly. You negotiate with it. You rotate it. You try, valiantly, to get a little of each icing in every bite for perfect harmony. I grew up eating these cookies, and to this day, I still approach them the same way, carefully angling each bite like it’s a tiny act of diplomacy. Too much chocolate? Course-correct. Too much vanilla? Adjust and proceed. Balance must be restored.
NYC
In New York City, especially, the black and white cookie became shorthand for comfort and nostalgia. It’s the cookie you grab with a coffee, the one wrapped in wax paper, the one that somehow feels right whether you’re nine or ninety. It’s not flashy, but it’s dependable—soft but sturdy, sweet but not cloying, familiar in the best way.
In recent years, however, I’ve noticed a troubling trend: all-vanilla versions. All-chocolate versions. And while those may be perfectly fine cookies in their own right, let’s be absolutely clear—these are not black and white cookies. They are impostors. A black and white cookie without contrast is just a missed opportunity because the whole point is the duality. The push and pull. The quiet agreement between chocolate and vanilla that neither needs to dominate. In a city built on opposites, that’s probably why the black and white cookie has endured. It doesn’t ask you to choose sides. It simply asks you to find balance—and maybe, if you’re lucky, get a perfect bite.
No matter where I am, one bite of a black and white cookie snaps me right back to NYC, where these cakey, frosted icons somehow make everything feel faster, louder, and sweeter (in a good way) all at once. Loving them isn’t just a preference—it’s a quiet, sugar-dusted declaration that a piece of me will always belong to the city. March 20th is my 9th blog anniversary, so I’m posting this special recipe in honor of that.
Black and White Cookies

Ingredients:
For the Cookies:
- 1 1/3 cups all-purpose flour
- 1/2 teaspoon baking soda
- Pinch of salt
- 6 tablespoons unsalted butter, room temperature
- 1/2 cup sugar
- 1 egg, room temperature
- 1 1/2 teaspoons vanilla extract
- 1/3 cup milk
For the Icing:
- 1 cup Confectioners’ sugar
- 1 tablespoon cold water, plus more as needed
- 1/2 tablespoon light corn syrup
- 1/4 teaspoon vanilla extract
- 1 cup milk or dark chocolate chips, melted
Directions:
- Preheat oven to 350 degrees F. Line two baking sheets with parchment paper and set near your work station.
- For the Cookies: In a medium mixing bow add the flour, salt, and baking soda; whisk to blend and set aside.
- To the bowl of a kitchen mixer, fitted with a paddle attachment, add the butter and sugar and beat on high until light and fluffy. Reduce the speed slightly, add the egg and vanilla, mix, scraping down the sides of the bowl as needed, until combined.
- Reduce the speed to low, and slowly add the flour mixture and milk, alternating, starting and ending with the flour. Mix until just combined, then use a spatula to scrape the bowl down and mix as needed.
- Scoop about two tablespoons of cookie batter onto your lined baking sheets leave space between each cookie for them to spread.
- Place one pan in the oven at a time and bake on the center rack for about 8-10 minutes or until the centers are springy to the touch. Allow to cool for a few minutes before transferring to a wire rack to cool completely. Cool the cookies upside down so the bottom becomes the flat top you will ice. While the cookies cool, make the icing.
- For the Icing: In a small mixing bowl, add the Confectioners' sugar, vanilla, corn syrup, and water, and mix until smooth. Add more water as needed to a thinner spreadable icing. Set near your work station.
- Place the chocolate chips in a microwave safe bowl and heat, 30 seconds at a time, stirring in between until the chocolate is melted.
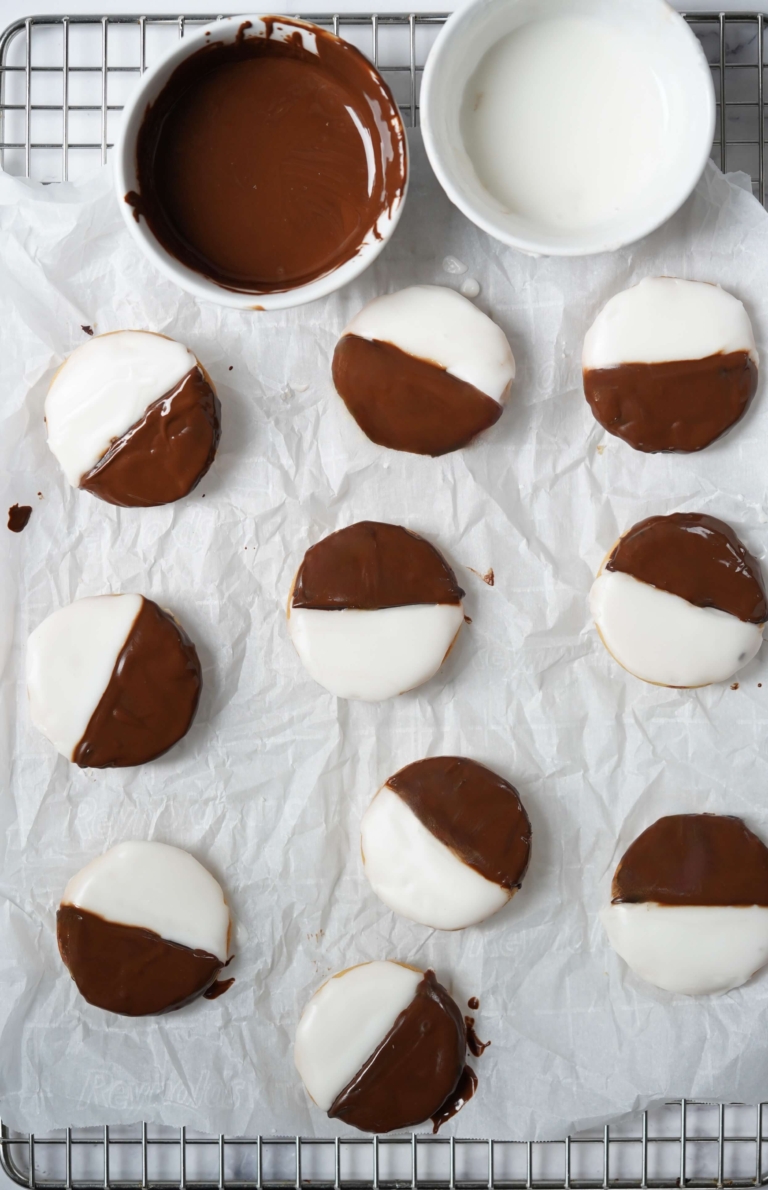
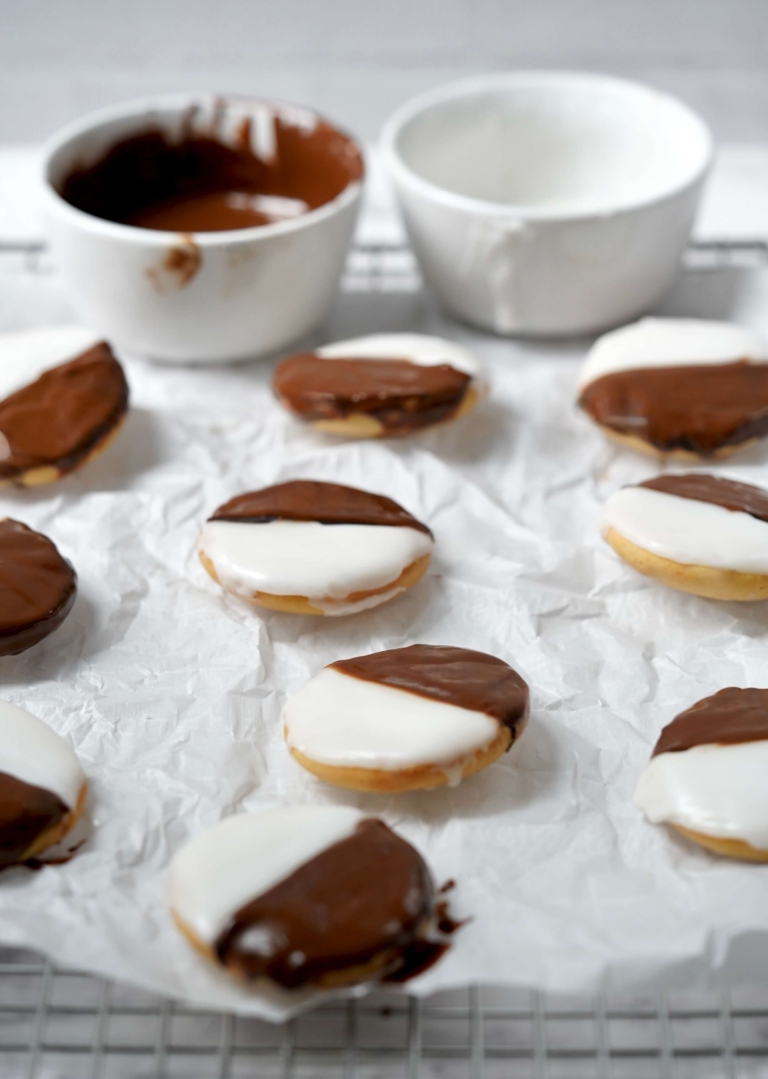
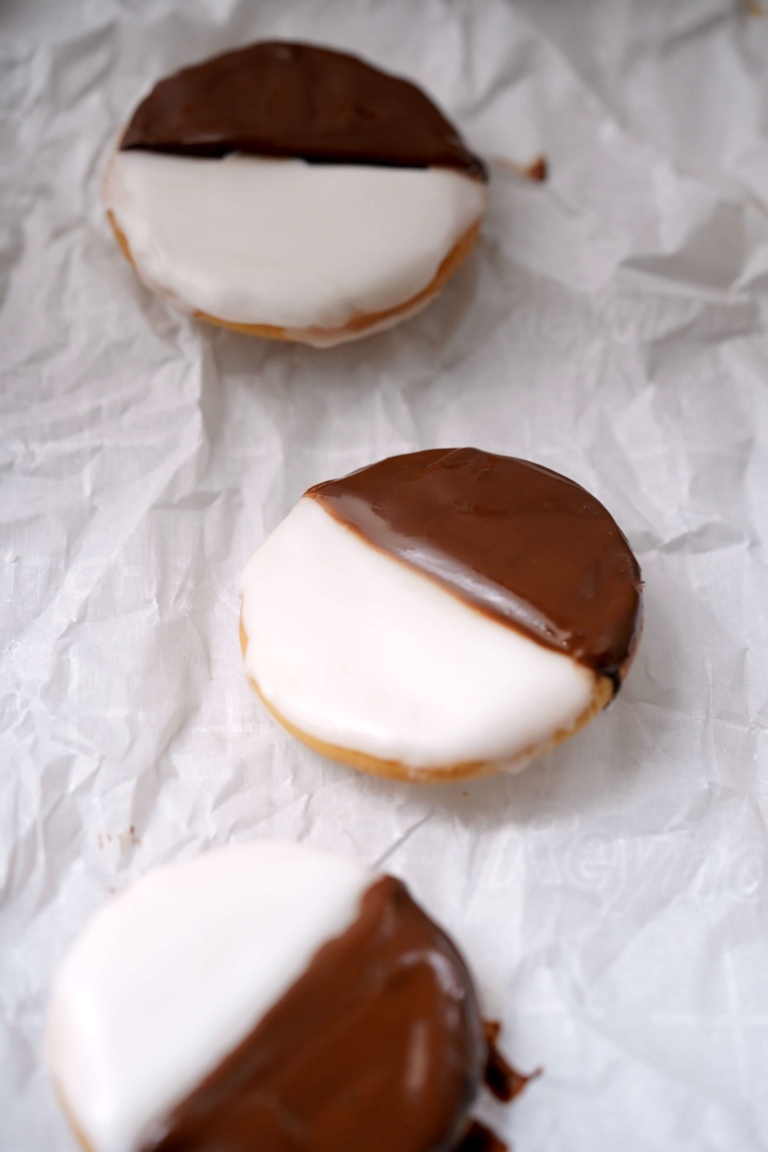
- To Ice the Cookies: Use a small offset spatula to cover half of each cookie in a thin layer of vanilla icing. Use the edge of a knife or offset spatula to create a clean line along the middle. To do this use the sharp edge to gently draw the icing from the center to the edge, then clean the tool and repeat from the center to the other edge. Allow the icing to set, then cover the other side with the chocolate icing. This time, use your spatula to push the chocolate right to the center, smooth it out and allow the chocolate to set before serving. Note: the icing does not need to be perfect, they will be fantastic no matter what.

I loved everything about this: I didn’t know the history. You share so much so well. Growing up in Boston, we benefited from our proximity to New York. Black & whites had a name change — we called them half moons.