
When summer turns the oven into a sworn enemy, no-bake desserts step in like a cool-headed hero. Enter the frozen marbled cake: effortless, unapologetically nostalgic, and exactly the kind of dessert you want waiting in the freezer when the temperature refuses to cooperate. This is the dessert of summer, not because it’s flashy, but because it’s smart—cool, creamy, and entirely prepared in advance.
No-Bake Cakes
At its core, a no-bake cake is less about baking and more about assembly. These desserts rely on chilling or freezing to set, not heat, which makes them ideal for warm weather and busy schedules. Instead of structure coming from eggs and flour, it comes from clever layering, whipped fillings, and a little patience. Think of them as the cake equivalent of linen pants: relaxed, unfussy, and seasonally appropriate.
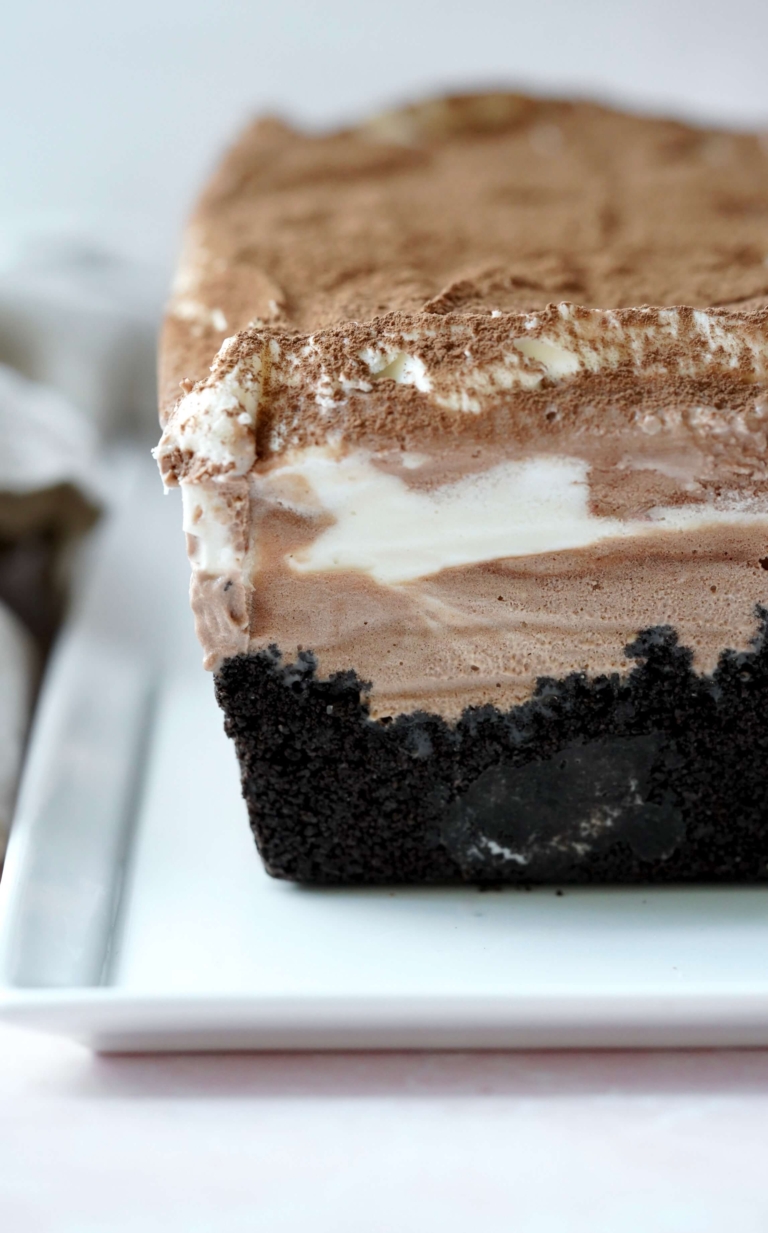
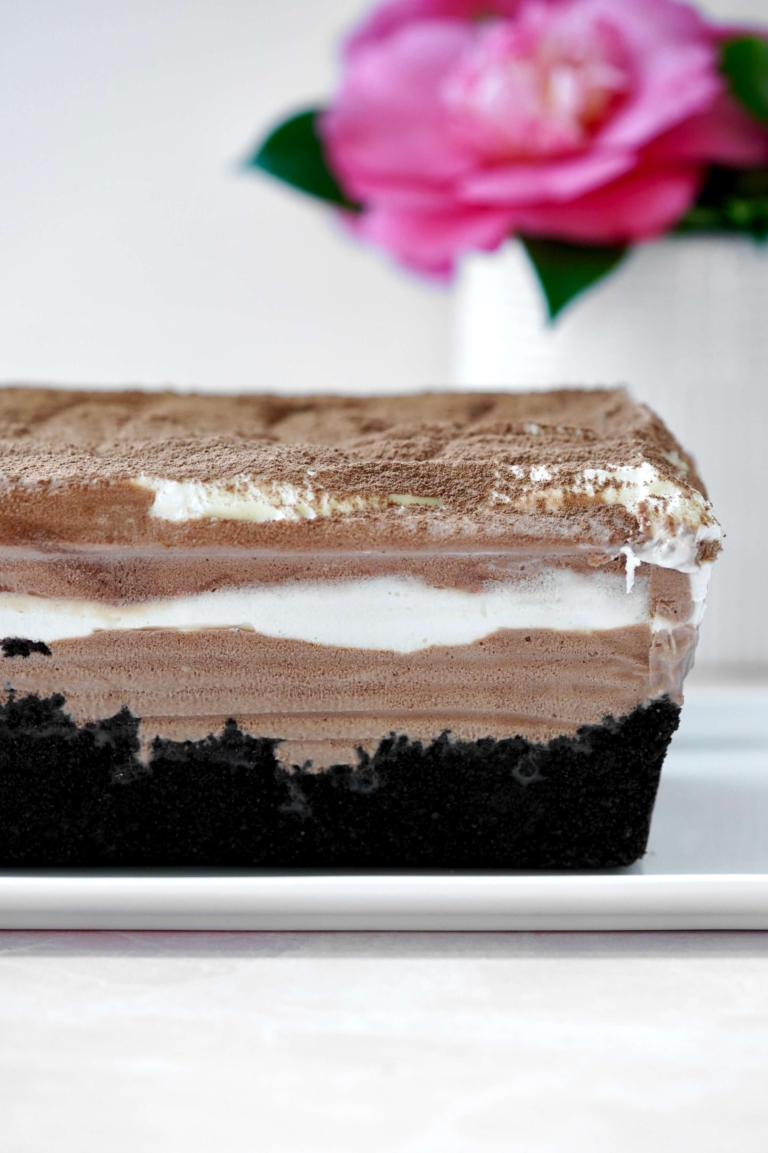
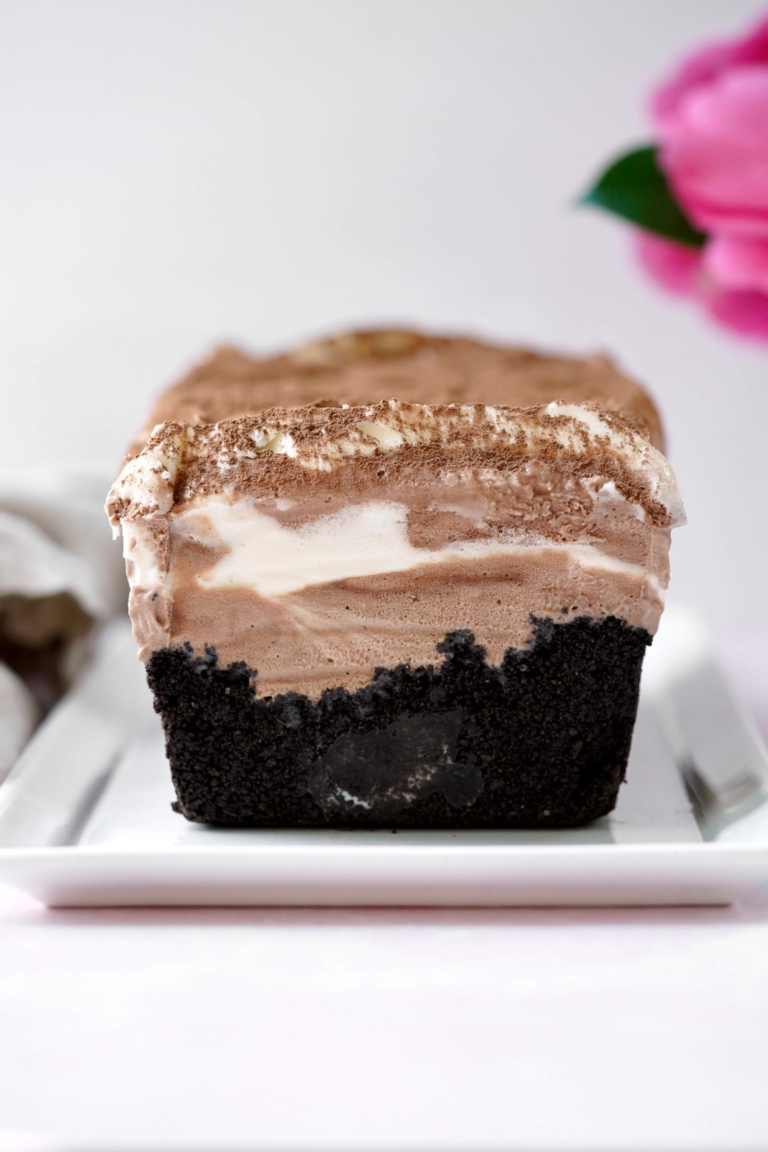
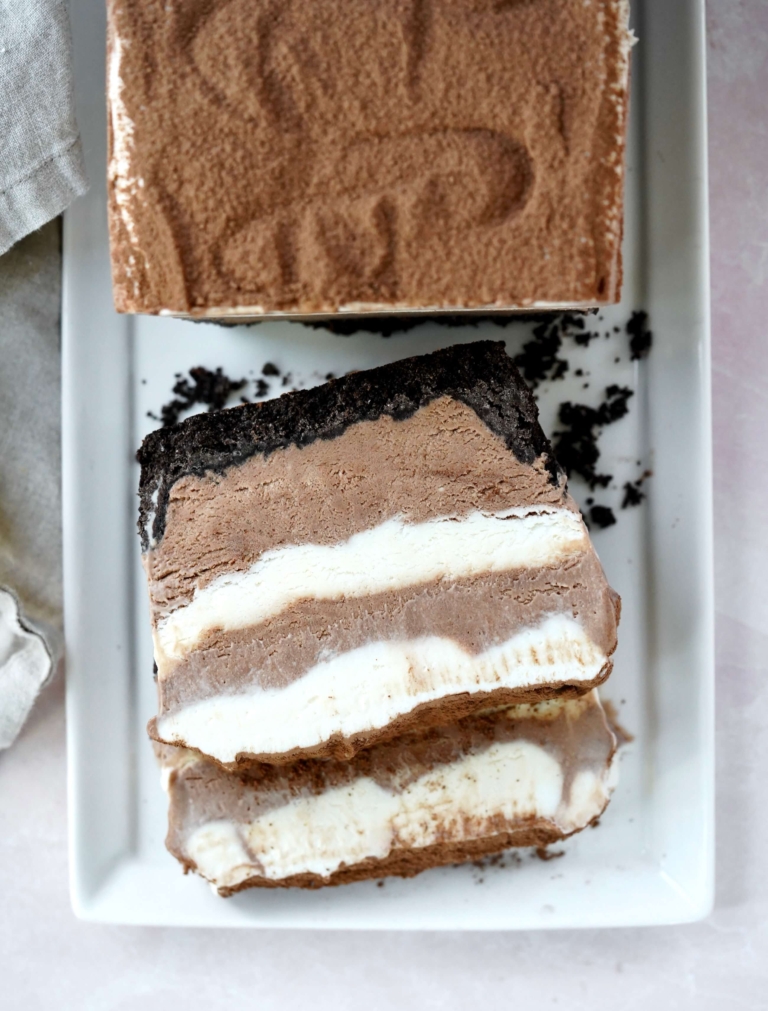
This frozen marbled version leans into that ease. An Oreo cookie base provides a deep, chocolatey crunch that feels both familiar and indulgent, while the whipped filling—light, airy, and swirled for visual drama—brings balance. The marbling isn’t just pretty; it gives each slice its own personality, a little more chocolate here, a little more vanilla there. Straight from the freezer, it’s part cake, part icebox treat, and entirely refreshing.
No-bake cakes have been around longer than we often give them credit for. Their popularity rose in the early to mid-20th century, when home refrigeration became widespread, and convenience ingredients like packaged cookies and whipped toppings entered the mainstream kitchen. These desserts were practical, economical, and adaptable—perfect for home cooks looking to create something celebratory without turning on the oven. Over time, they became staples of summer gatherings, potlucks, and family freezers, evolving with trends but never losing their appeal.

Summer Chilling
What makes this frozen marbled cake especially suited for summer is its make-ahead nature. All the work happens hours—if not days—before serving. There’s no last-minute stress, no melting frosting panic, no scrambling while guests arrive. You simply slice, serve, and enjoy something cold and creamy when it’s most appreciated. It’s the kind of dessert that understands the season. Minimal effort, maximum payoff, and best enjoyed straight from the freezer on a hot day. Sometimes, the smartest move in the kitchen is knowing when not to cook at all.
No-Bake Frozen Marbled Cake

Ingredients:
For the Chocolate Syrup:
- 1/4 cup plus 2 tablespoons unsweetened cocoa powder, plus additional for dusting
- 1/2 cup sugar
- 1/2 cup water
- 1/1 teaspoons vanilla extract
- Pinch of Kosher salt
For the Cake Base:
- 2 cups Oreo cookies, finely crushed
- 3 tablespoons unsalted butter, melted
For the Filling:
- 2 cups heavy whipping cream
- One (8-ounce) package full-fat cream cheese, softened
- One (14-ounce) can of sweetened condensed milk
- 2 teaspoons vanilla extract
- 1/2 cup reserved homemade chocolate syrup
Directions:
- For the Chocolate Sauce: In a medium saucepan, whisk together the cocoa powder, sugar, and water over medium heat. Bring to a simmer, then lower the heat. Stir frequently as it simmers for about 3 minutes until thickened. (Note: do not let it boil).
- Remove the chocolate sauce from the heat, stir in vanilla and salt. Allow to cool, and transfer to a glass jar. Place in the refrigerator to chill until needed.
- For the Cake: Line a standard 9x5-inch loaf pan with foil extending at least two inches up from the top of the pan. The easiest way to do this is to crisscross pieces of foil and pinch the tips together to lightly seal them. Lightly oil the foil all over. (Note: Doing this will allow you to create a cake that is taller than the loaf pan and keep it in place while it freezes.) Set near your work station.
- For the Cake Base: In a medium mixing bowl, add the Oreo cookie crumbs and melted butter and mix well to blend. Pour the cookie crumbs into the prepared pan and press firmly onto the bottom and 1-1/2 inch up the sides of the pan.
- For the Filling: In the bowl of a kitchen mixer, such as a KitchenAid, fitted with a whisk attachment, add the heavy cream and beat (covered) until soft, but dry, peaks form. Place the whipped cream in a mixing bowl and set aside.
- Clean the mixer bowl and whisk attachment and beat the cream cheese, scraping down the sides as needed, until light and fluffy, about 2 minutes. Add milk and vanilla and mix well to blend. Fold in whipped cream.
- Next, spoon half of the cream cheese-whipped cream mixture into another bowl and set aside. Fold the chocolate syrup into 1/2 of the cream cheese whipped cream mixture.
- To Assemble the Cake: Spoon half of the chocolate mixture over the crust. Top with half of the reserved vanilla cream cheese-whipped cream mixture. Repeat layers using all the mixtures or until the top of the tinfoil has been reached. Use a paring knife to swirl through the layers. Cover lightly with plastic wrap, place in the freezer, and allow to set for and freeze for at least 5-6 hours or overnight.
- To Serve: Allow the cake to warm up for a few minutes before slicing. Dust with additional cocoa powder, if desired. Lift the tinfoil out of the pan, and carefully remove the foil. Cut into 8 slices and serve.
